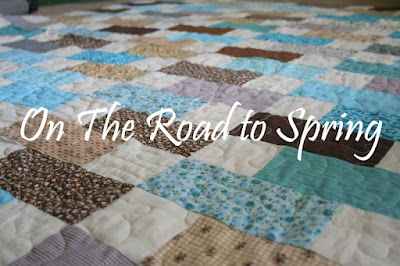
WIP: On The Road to Spring
Still working on my Road to Spring quilt. This is such an easy and fun design! The picture above is Randi’s sample quilt, and here’s the one she’s working on for the tutorial:
I finally finished cutting my 100 squares and 100 rectangles, and it took me no time at all using my handy-dandy Shape Cut from June Tailor.
From this:
The Shape Cut by June Tailor is one of my all-time favorite quilting tools. It is such a time-saver!
Step 1: Fold yardage in half, with the fold at the top ~ width measures about 11 inches. You will have 4 layers to cut. Place the Shape Cut on top and cut your strips per your desired width. In this case, I needed 3.5” squares, so I cut at the 3.5, 7 and 10.5 slots:
Step 2: Without moving your strips, you turn the Shape Cut to the side so that you are now cross-cutting the strips, again at the 3.5, 7, and 10.5 slots. Remove the Shape Cut, and ~ ta-da! ~ you have 36 squares in less than 5 minutes:
Do this two more times and you end up with 108 perfectly cut squares!
After sewing my squares and rectangles together, and then sewing the units into rows, I ended up with this:
Now sew the rows together, and I’ll be ready for Week 4! Randi has written very clear instructions and posted great pictures. This is a great design for a beginning quilter or, if you are a more experienced quilter, this would be a fast quilt to put together for a quick gift.
Happy quilting!


.JPG)
This is pretty! And looks like I can maybe handle it. :)
ReplyDelete